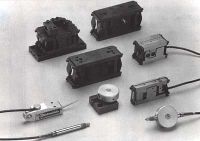
Variable ID/OD Gaging and Design & Build

DIATEST manufactures high-precision indicating bore gauges with a repeatability of up to 0,0002/0,000008” and supplies to over 40 countries worldwide.
Diameter and Length Measurement
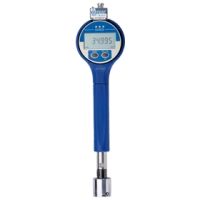
Plug Gauge DIATEST – BMD
Easy-to-use, constant reading self-centering bore gauge for the measurement of inner- and outer diameters with the highest precision and absolute accurate results.
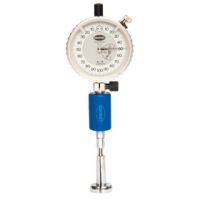
Split Ball probe
Split-ball probes are flexible and universal bore gauges for indicating internal measurements
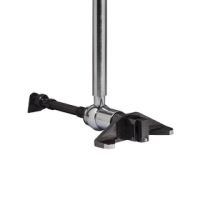
Plunger probe
Plunger probes are universal bore gauges for indicating internal measurements
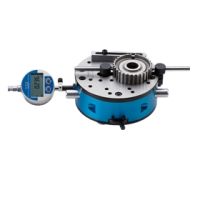
DIA-COME
Flexible and sturdy measuring tables for measurement of I.D. and O.D.
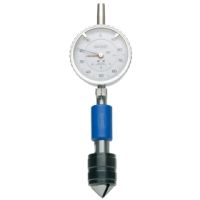
Chamfer gauges
Indicating measuring instruments for diameter measurement of conical bores, external cones or 45° chamfers
Gear Measurement
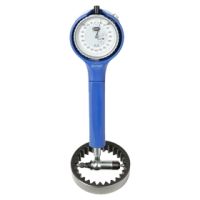
Internal gear gauges
Flexible indicating 2-point measuring instruments for internal gear gauging
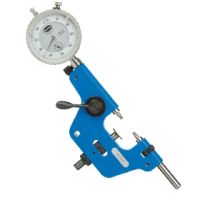
External gear gauges EG
Flexible indicating 2-point measuring instruments for external gear gauging

DIA-COME for gear gauging
Flexible and sturdy measuring tables for gear gauging
External Measuring
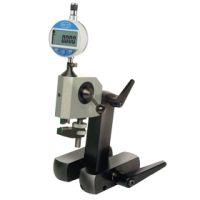
External diameter gauge AMG
Self-centering outside diameter gauge
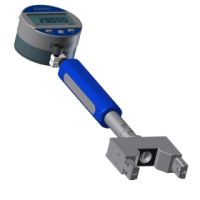
Snap gauge
Measurement of diameter, roundness and ovality of bearing seats or connecting rods of e.g. crank shafts
Depth Measurement
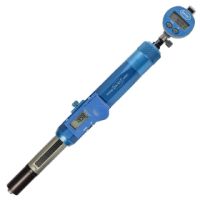
Gauge-2Dimensions
Simultaneous measurement of diameter and depth of a bore
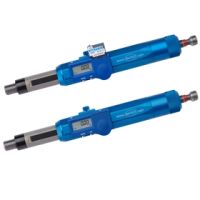
TD-Gauge+ (DI)
Simultaneous gauging of diameter and detecting of NO-Go-gauges
Crankshafts
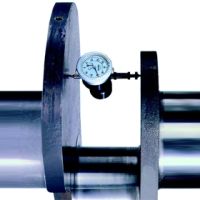
Crankshaft gauge
Checking crankshafts and crankshaft bearings of motors for defects
Bore Centering
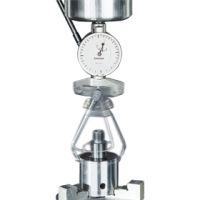
DIACATOR
For fast and accurate concentrical alignment of bores and shafts on most rotary machine tools
Measurement Display
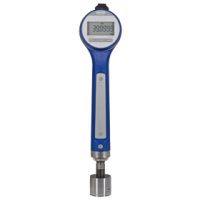
DIATRON1000
High precision hand measuring instrument, with four digits and a resolution of 0,1 µm / 0,000005’’
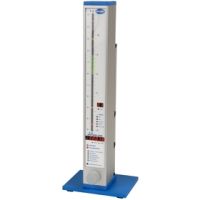
DIATRON2200
Electronic column with 3-colour bar scale and digital display of measured data
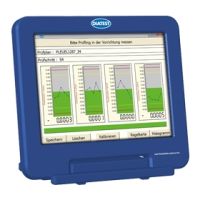
DIATRON6060-µNetwork
Compact and network-compatible measuring computer
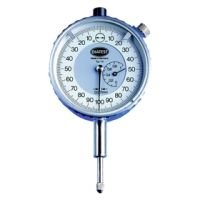
Analogue indicators
Analogue (mechanical) indicators are a sturdy and economical solution for single measurements
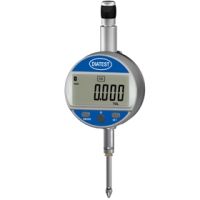
Digital indicators
Digital indicators are flexible in use and can transfer measured values digitally
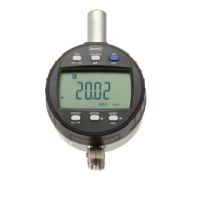
Digital indicator (for chamfer gauges)
Digital indicators MUM are used for chamfer gauges and can transfer measured values digitally
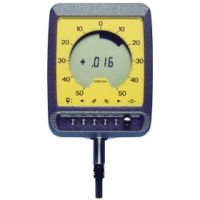
Analogue-digital indicator
Analogue and digital display at the same time
Accessories
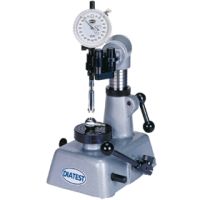
Checking stands
Base for precise and fast bore gauging, e.g. for the serial production of small components
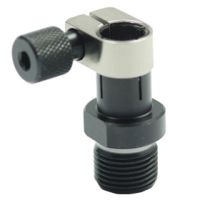
Holders
Diatest offers a wide range of indicator holders, floating holders, offset holders, depth stops, extensions, and adapters
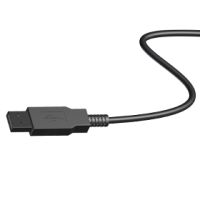
Data Transfer
Wired and wireless data transfer components for Diatest and other manufacturers’ gages.
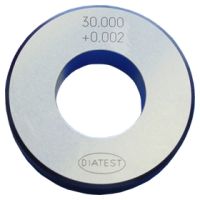
Setting Masters
High precision rings for zeroing gages

Edmunds Gages designs, engineers, and manufactures a full range of comparative based custom gages. Whether you require a fully automated system, or a simple gaging solution, Edmunds can help you find the best way to meet your “zero defect” production goals. Edmunds is particularly well-known for custom-engineered, closed-loop, post-process gaging systems where the gage communicated directly back to the part producing machine.
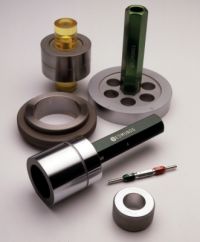
Precision Plugs, Rings, and Master Discs
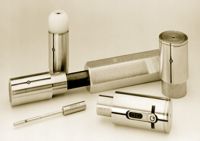
Air Gaging
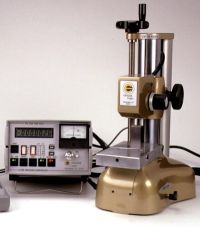
Metrology Comparators
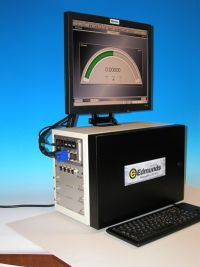
Computer Aided Gaging
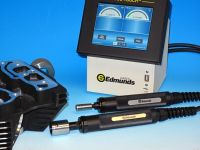
Electronic Gaging
